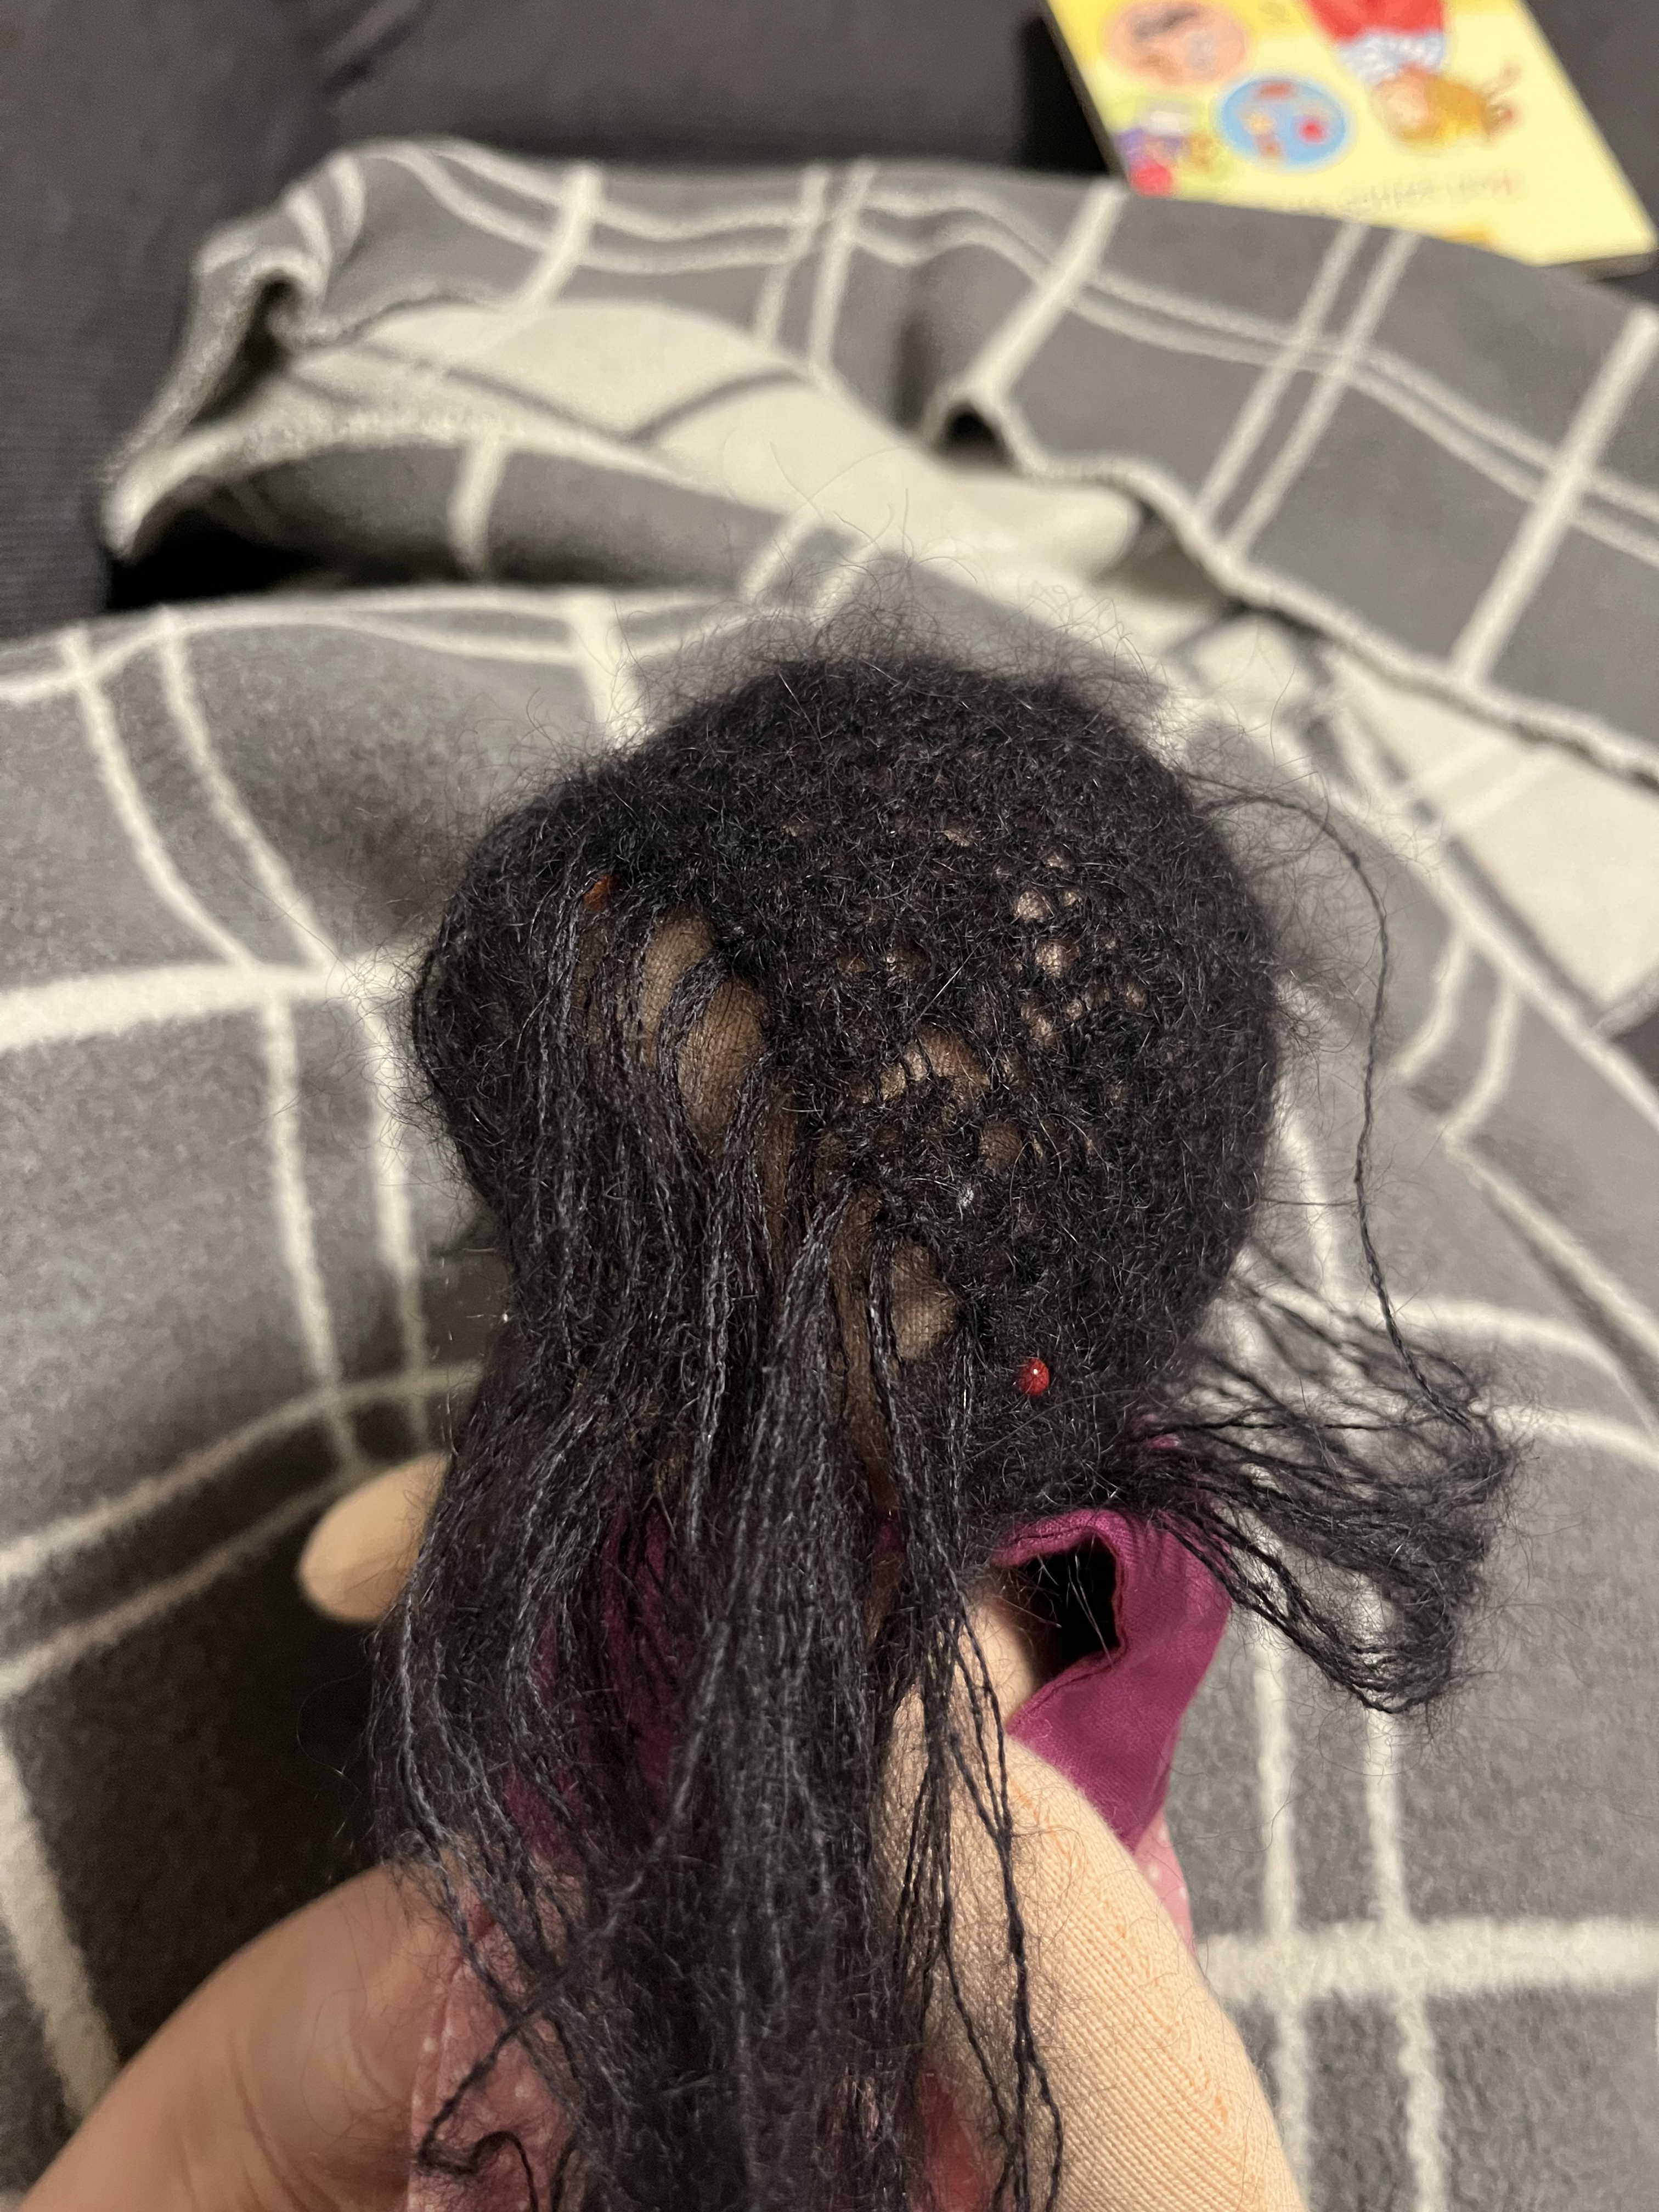
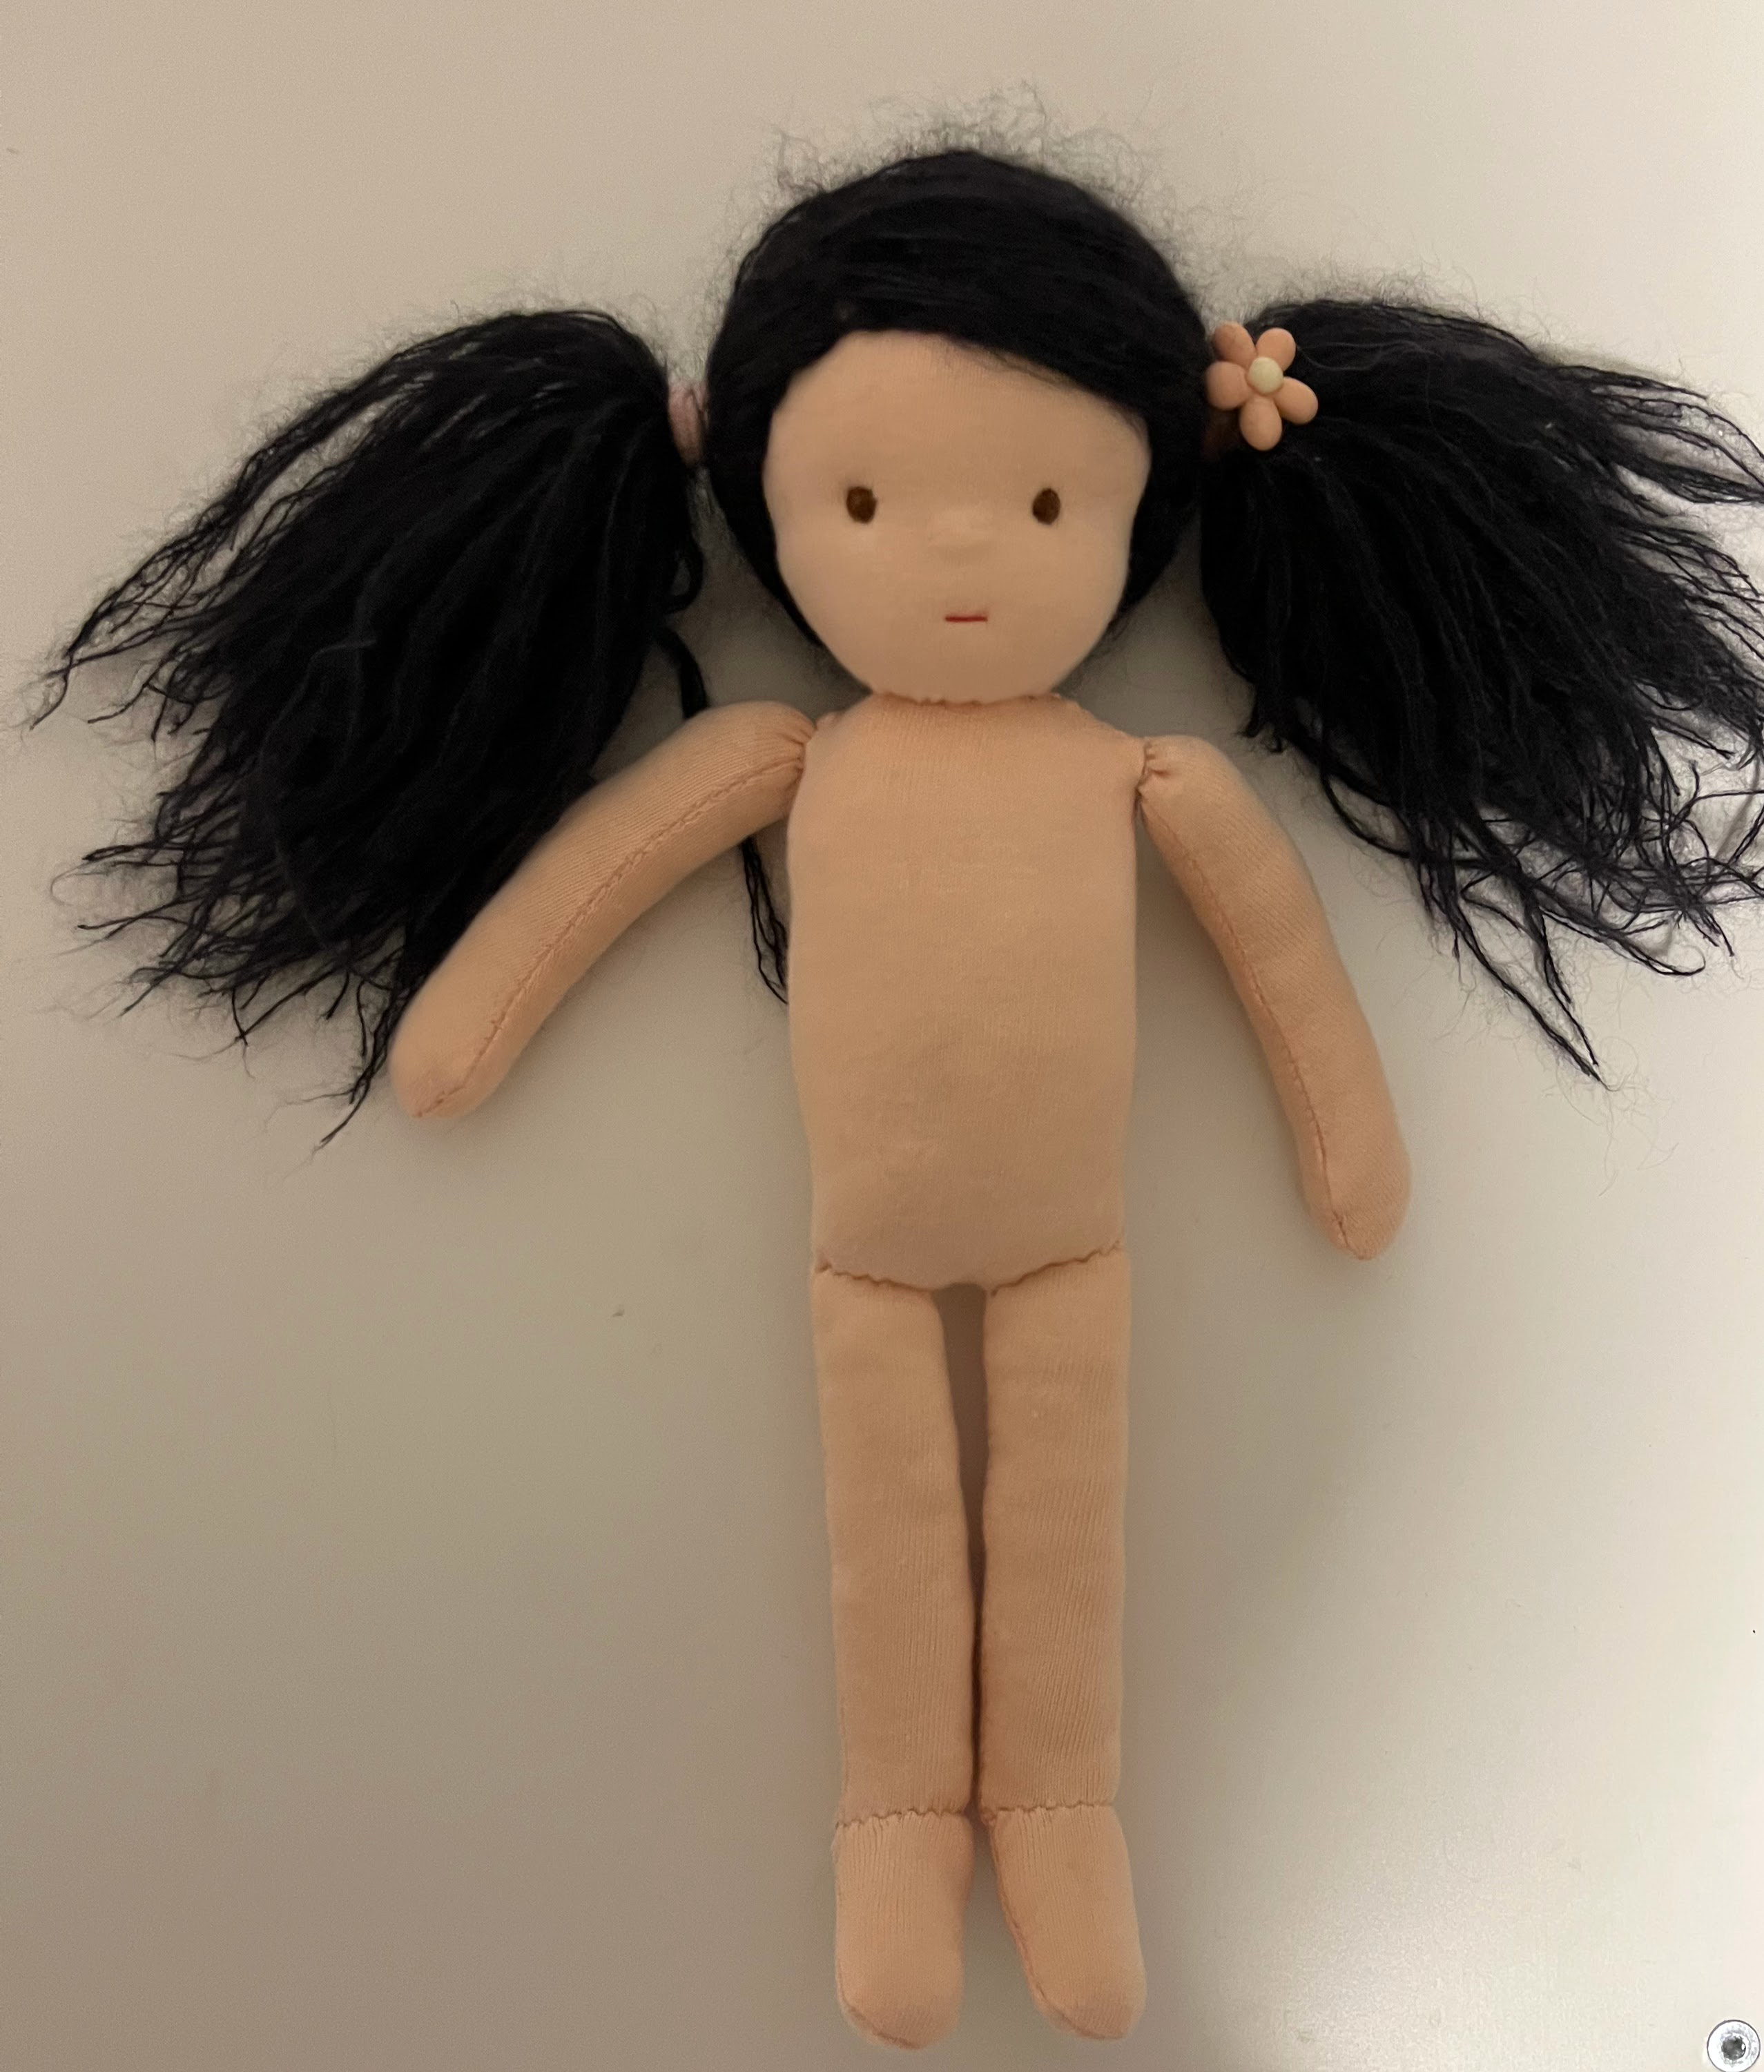
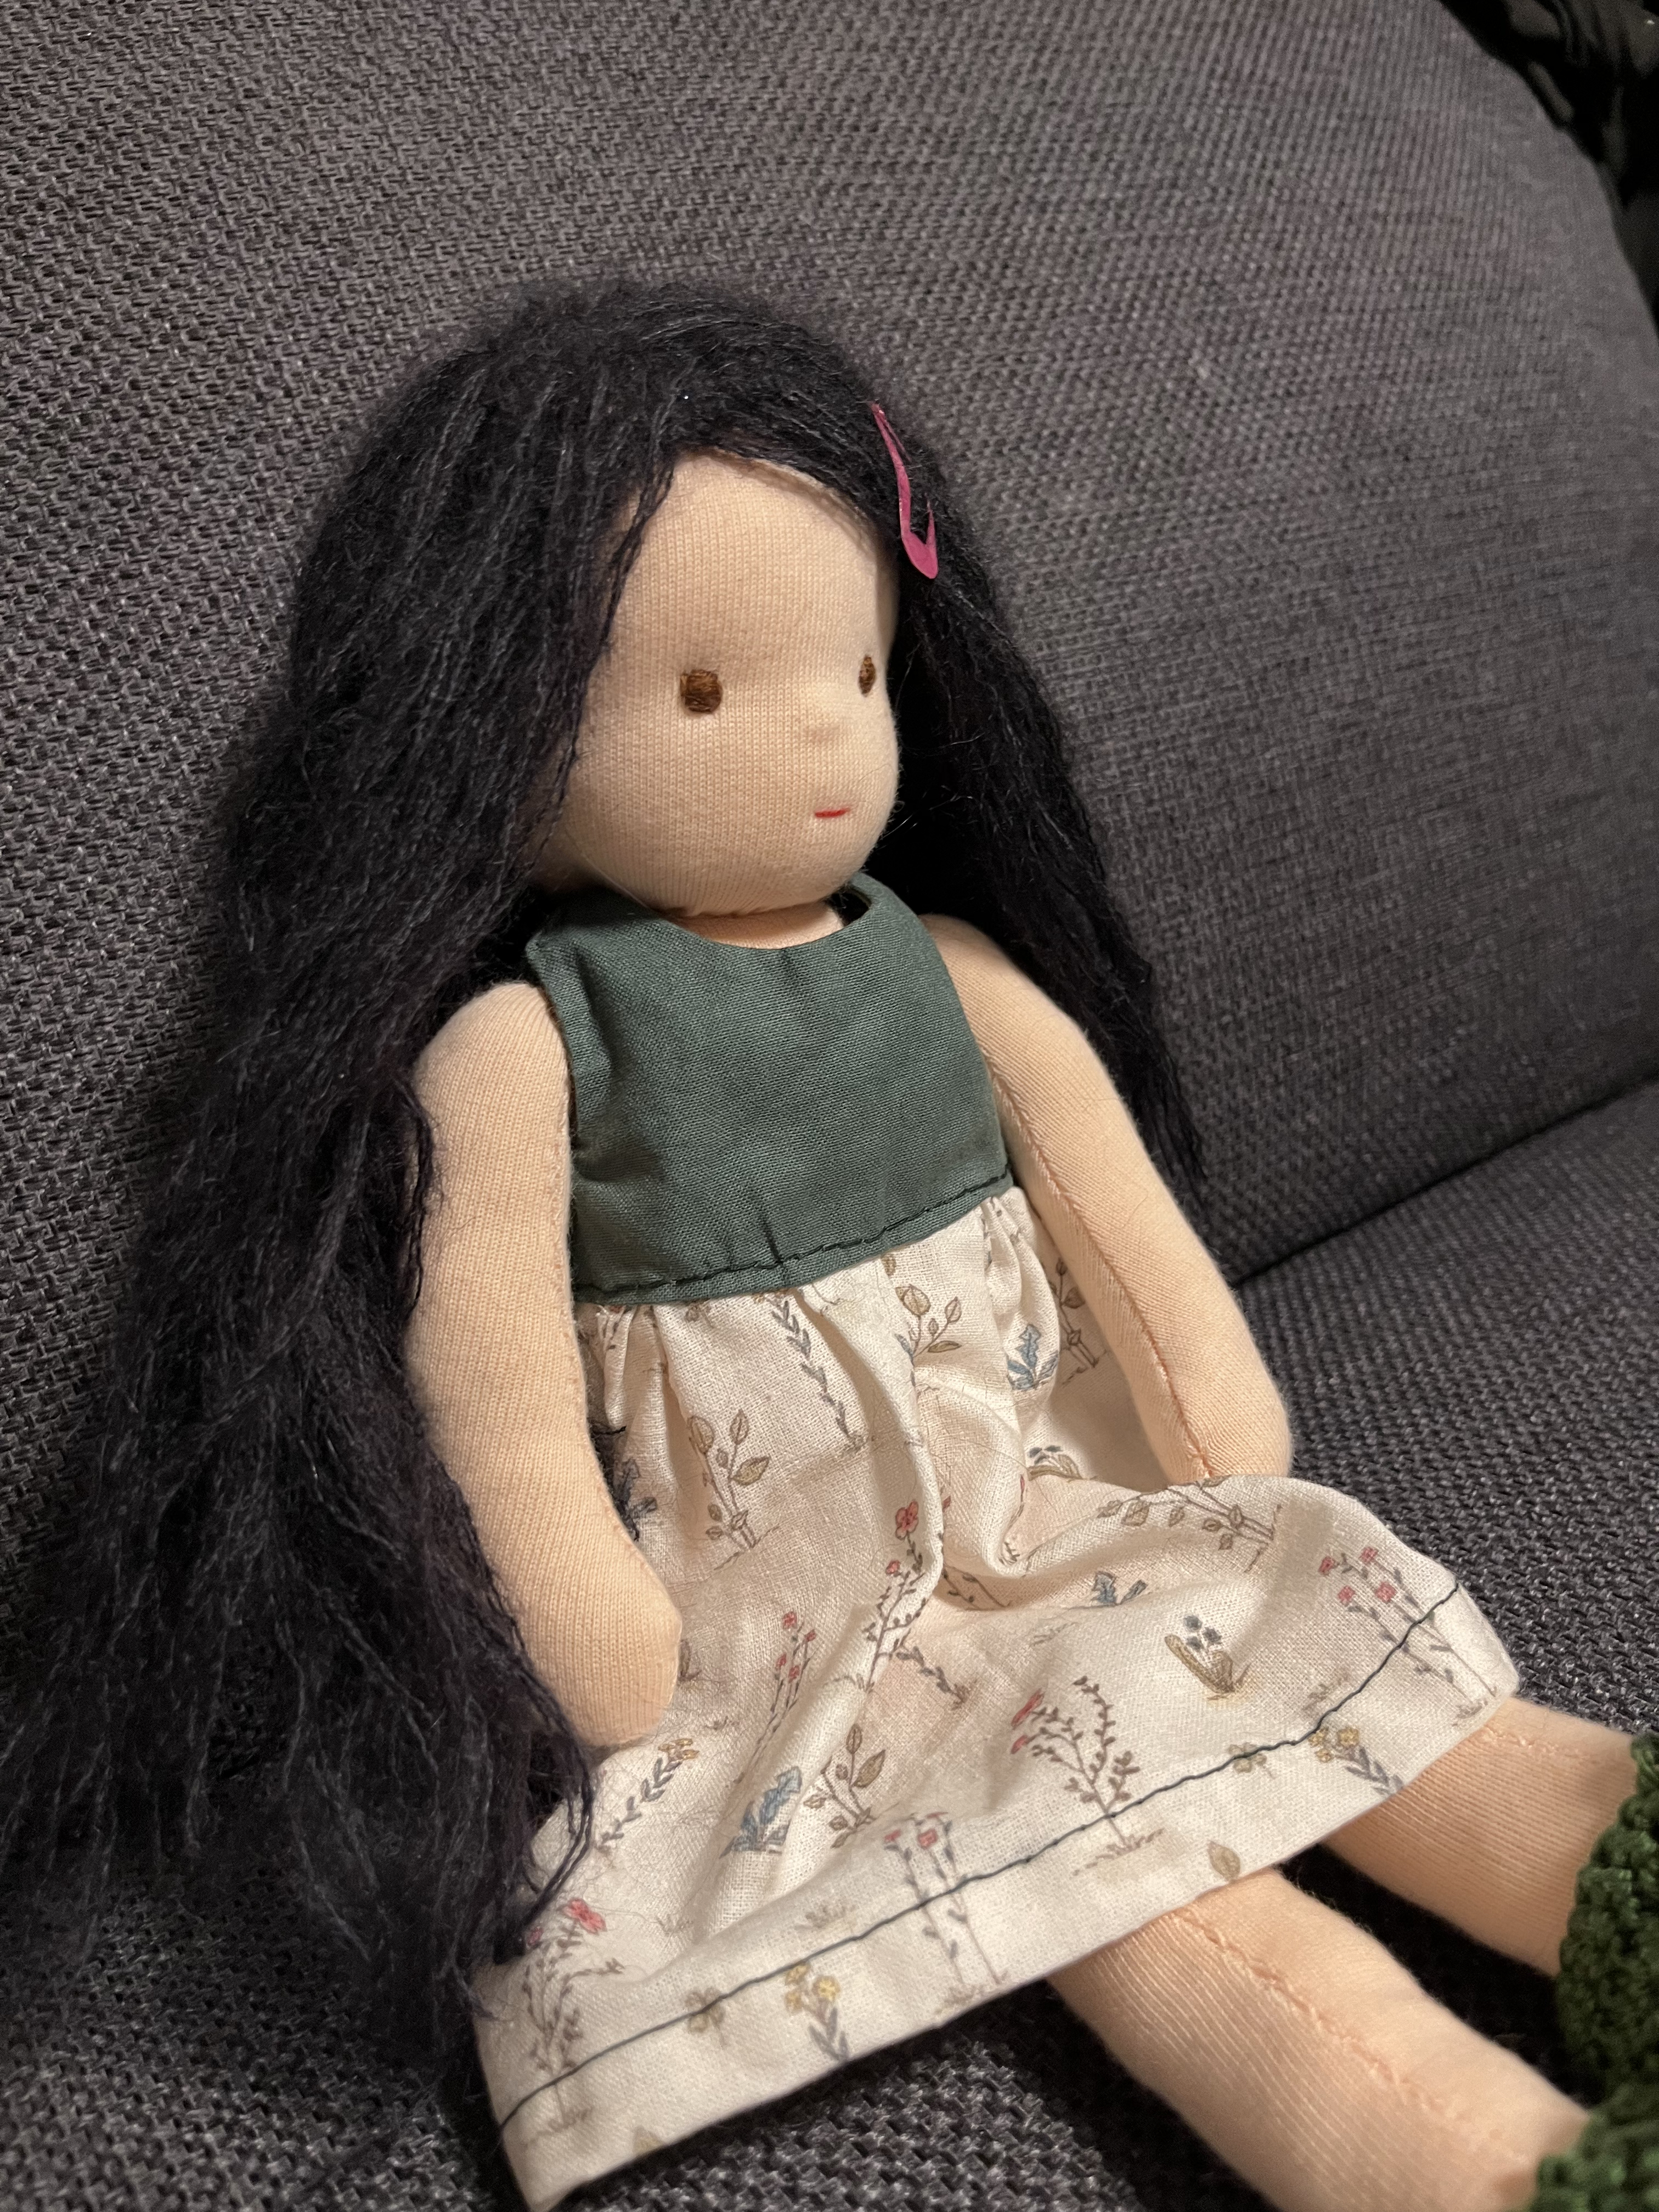
Second Doll & New Pattern
After I made my first doll, I was super happy that I was able to pull it off. However, I also saw so many beginner mistakes with it (obviously, as I'm a beginner :D) that I wanted to fix. I decided that the next doll(s) would be a present for my friend's children, but I wanted to do it (more) properly this time.
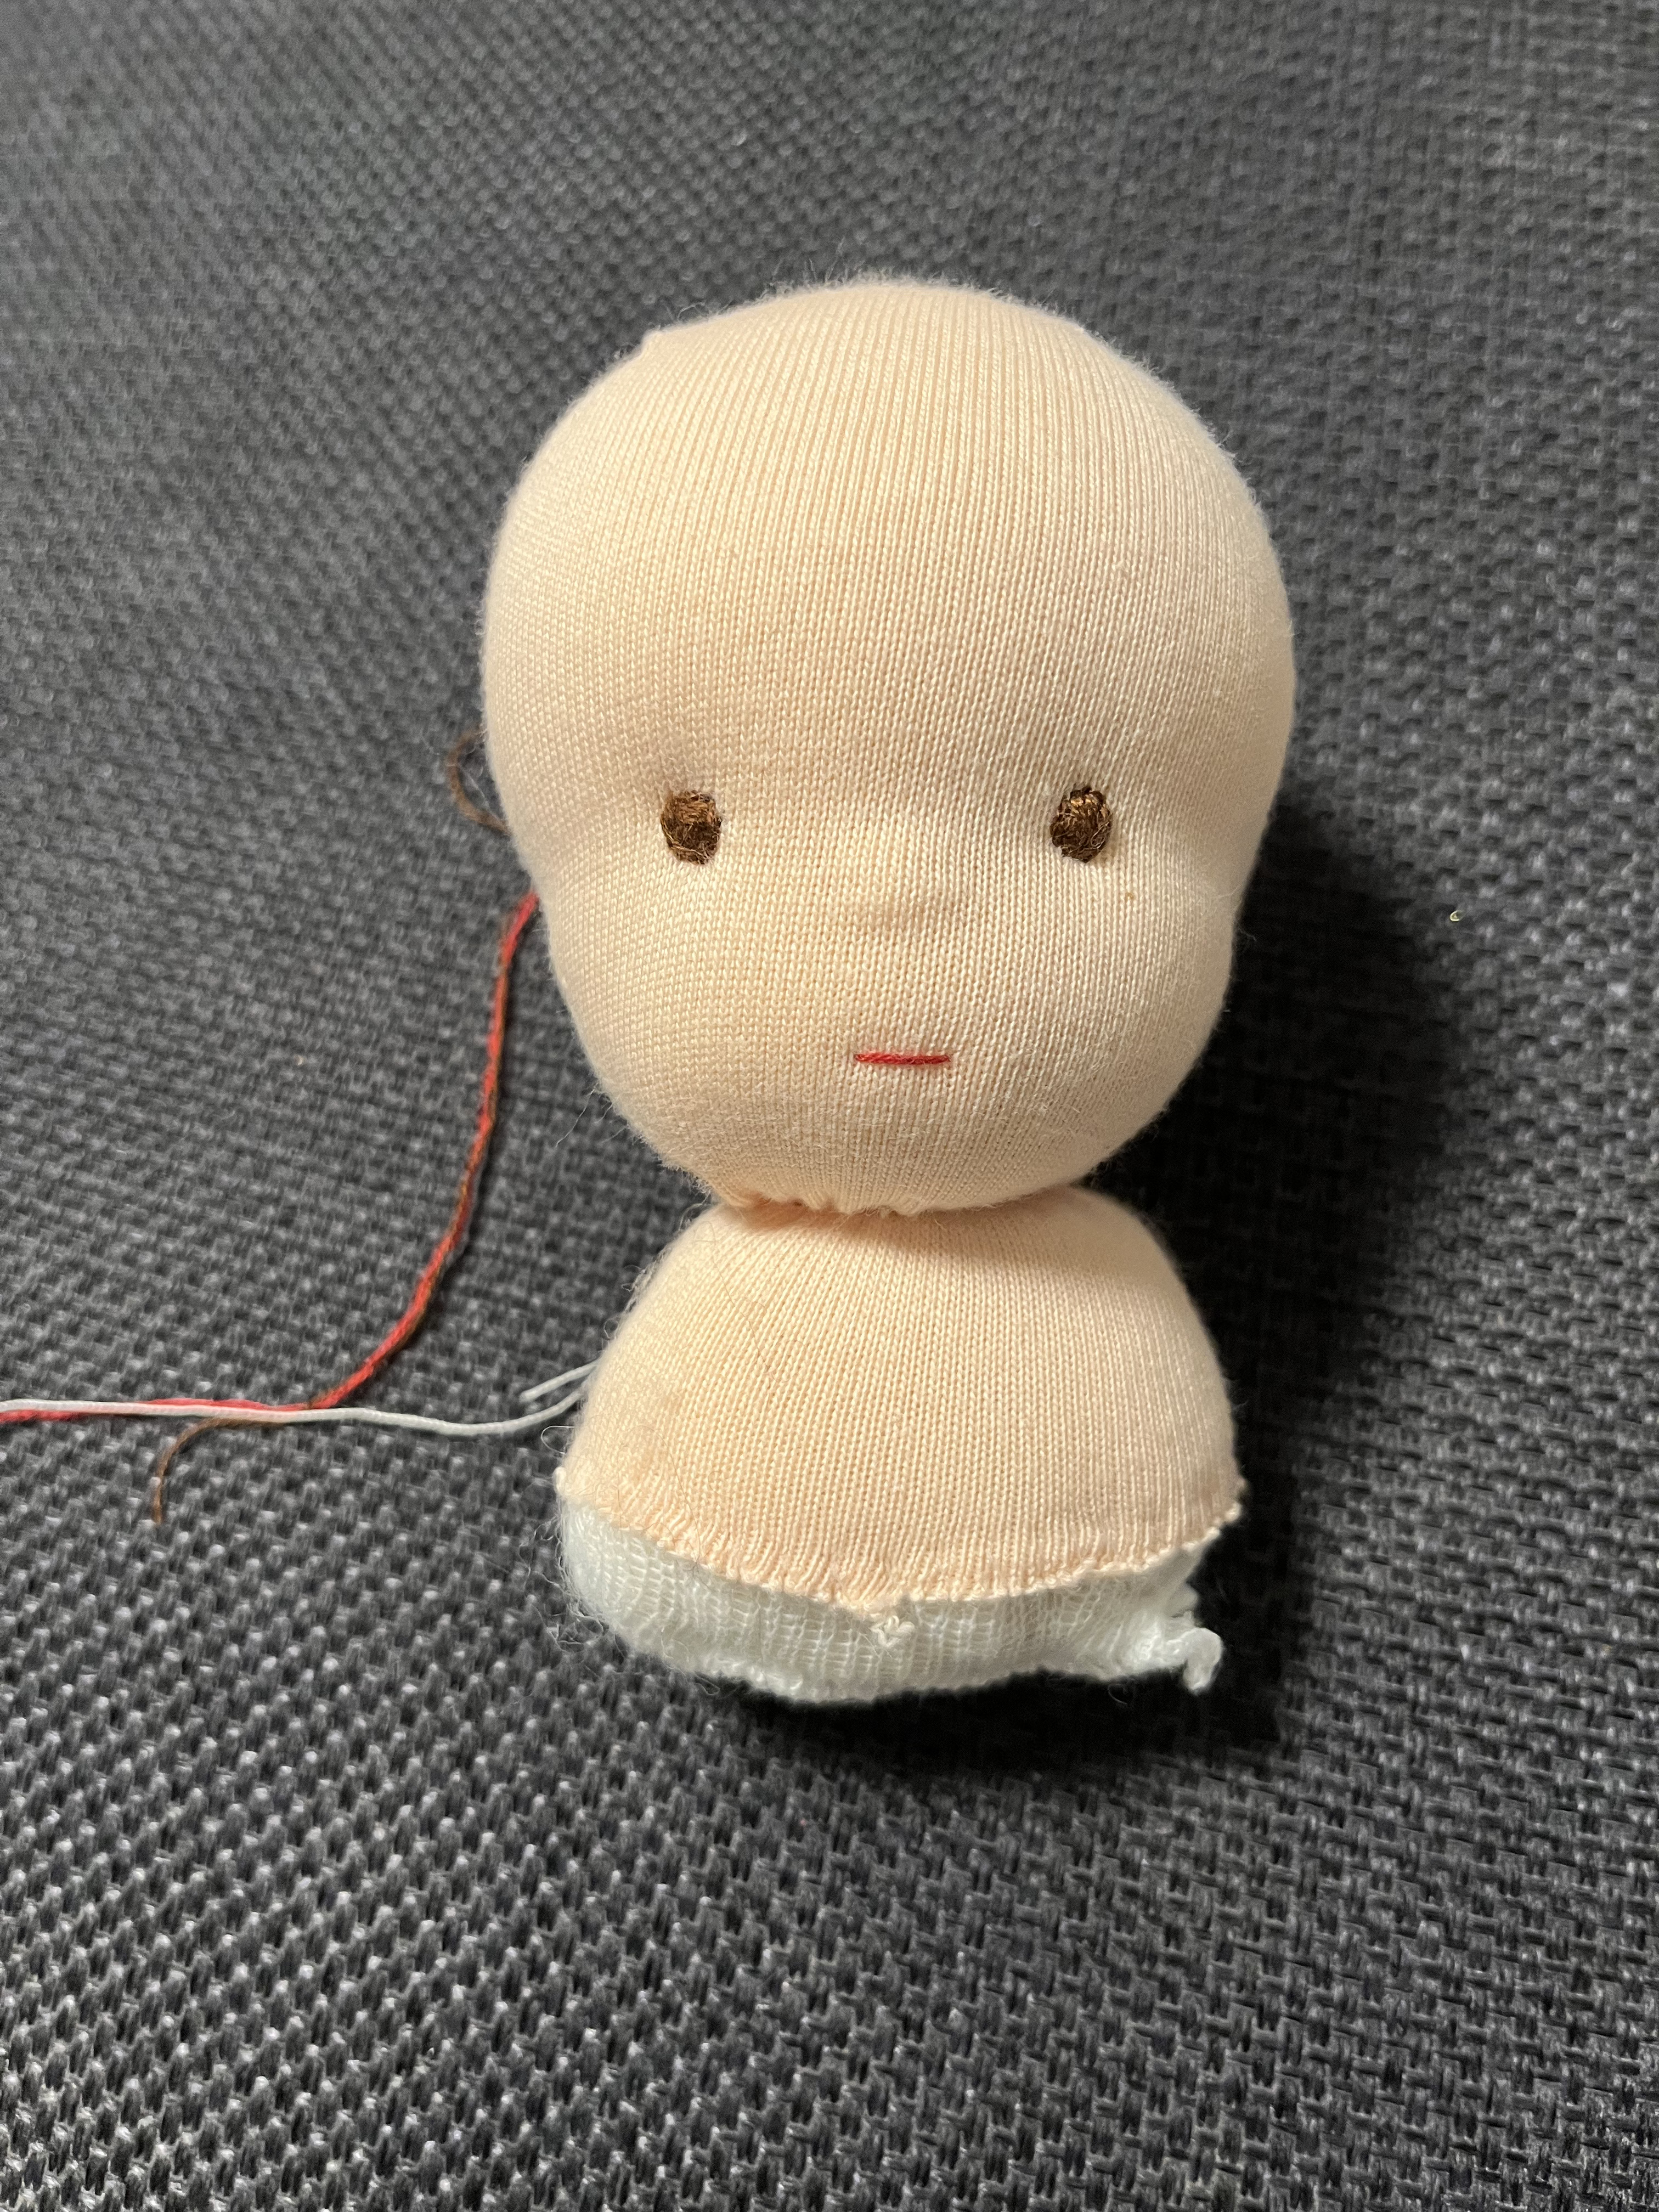
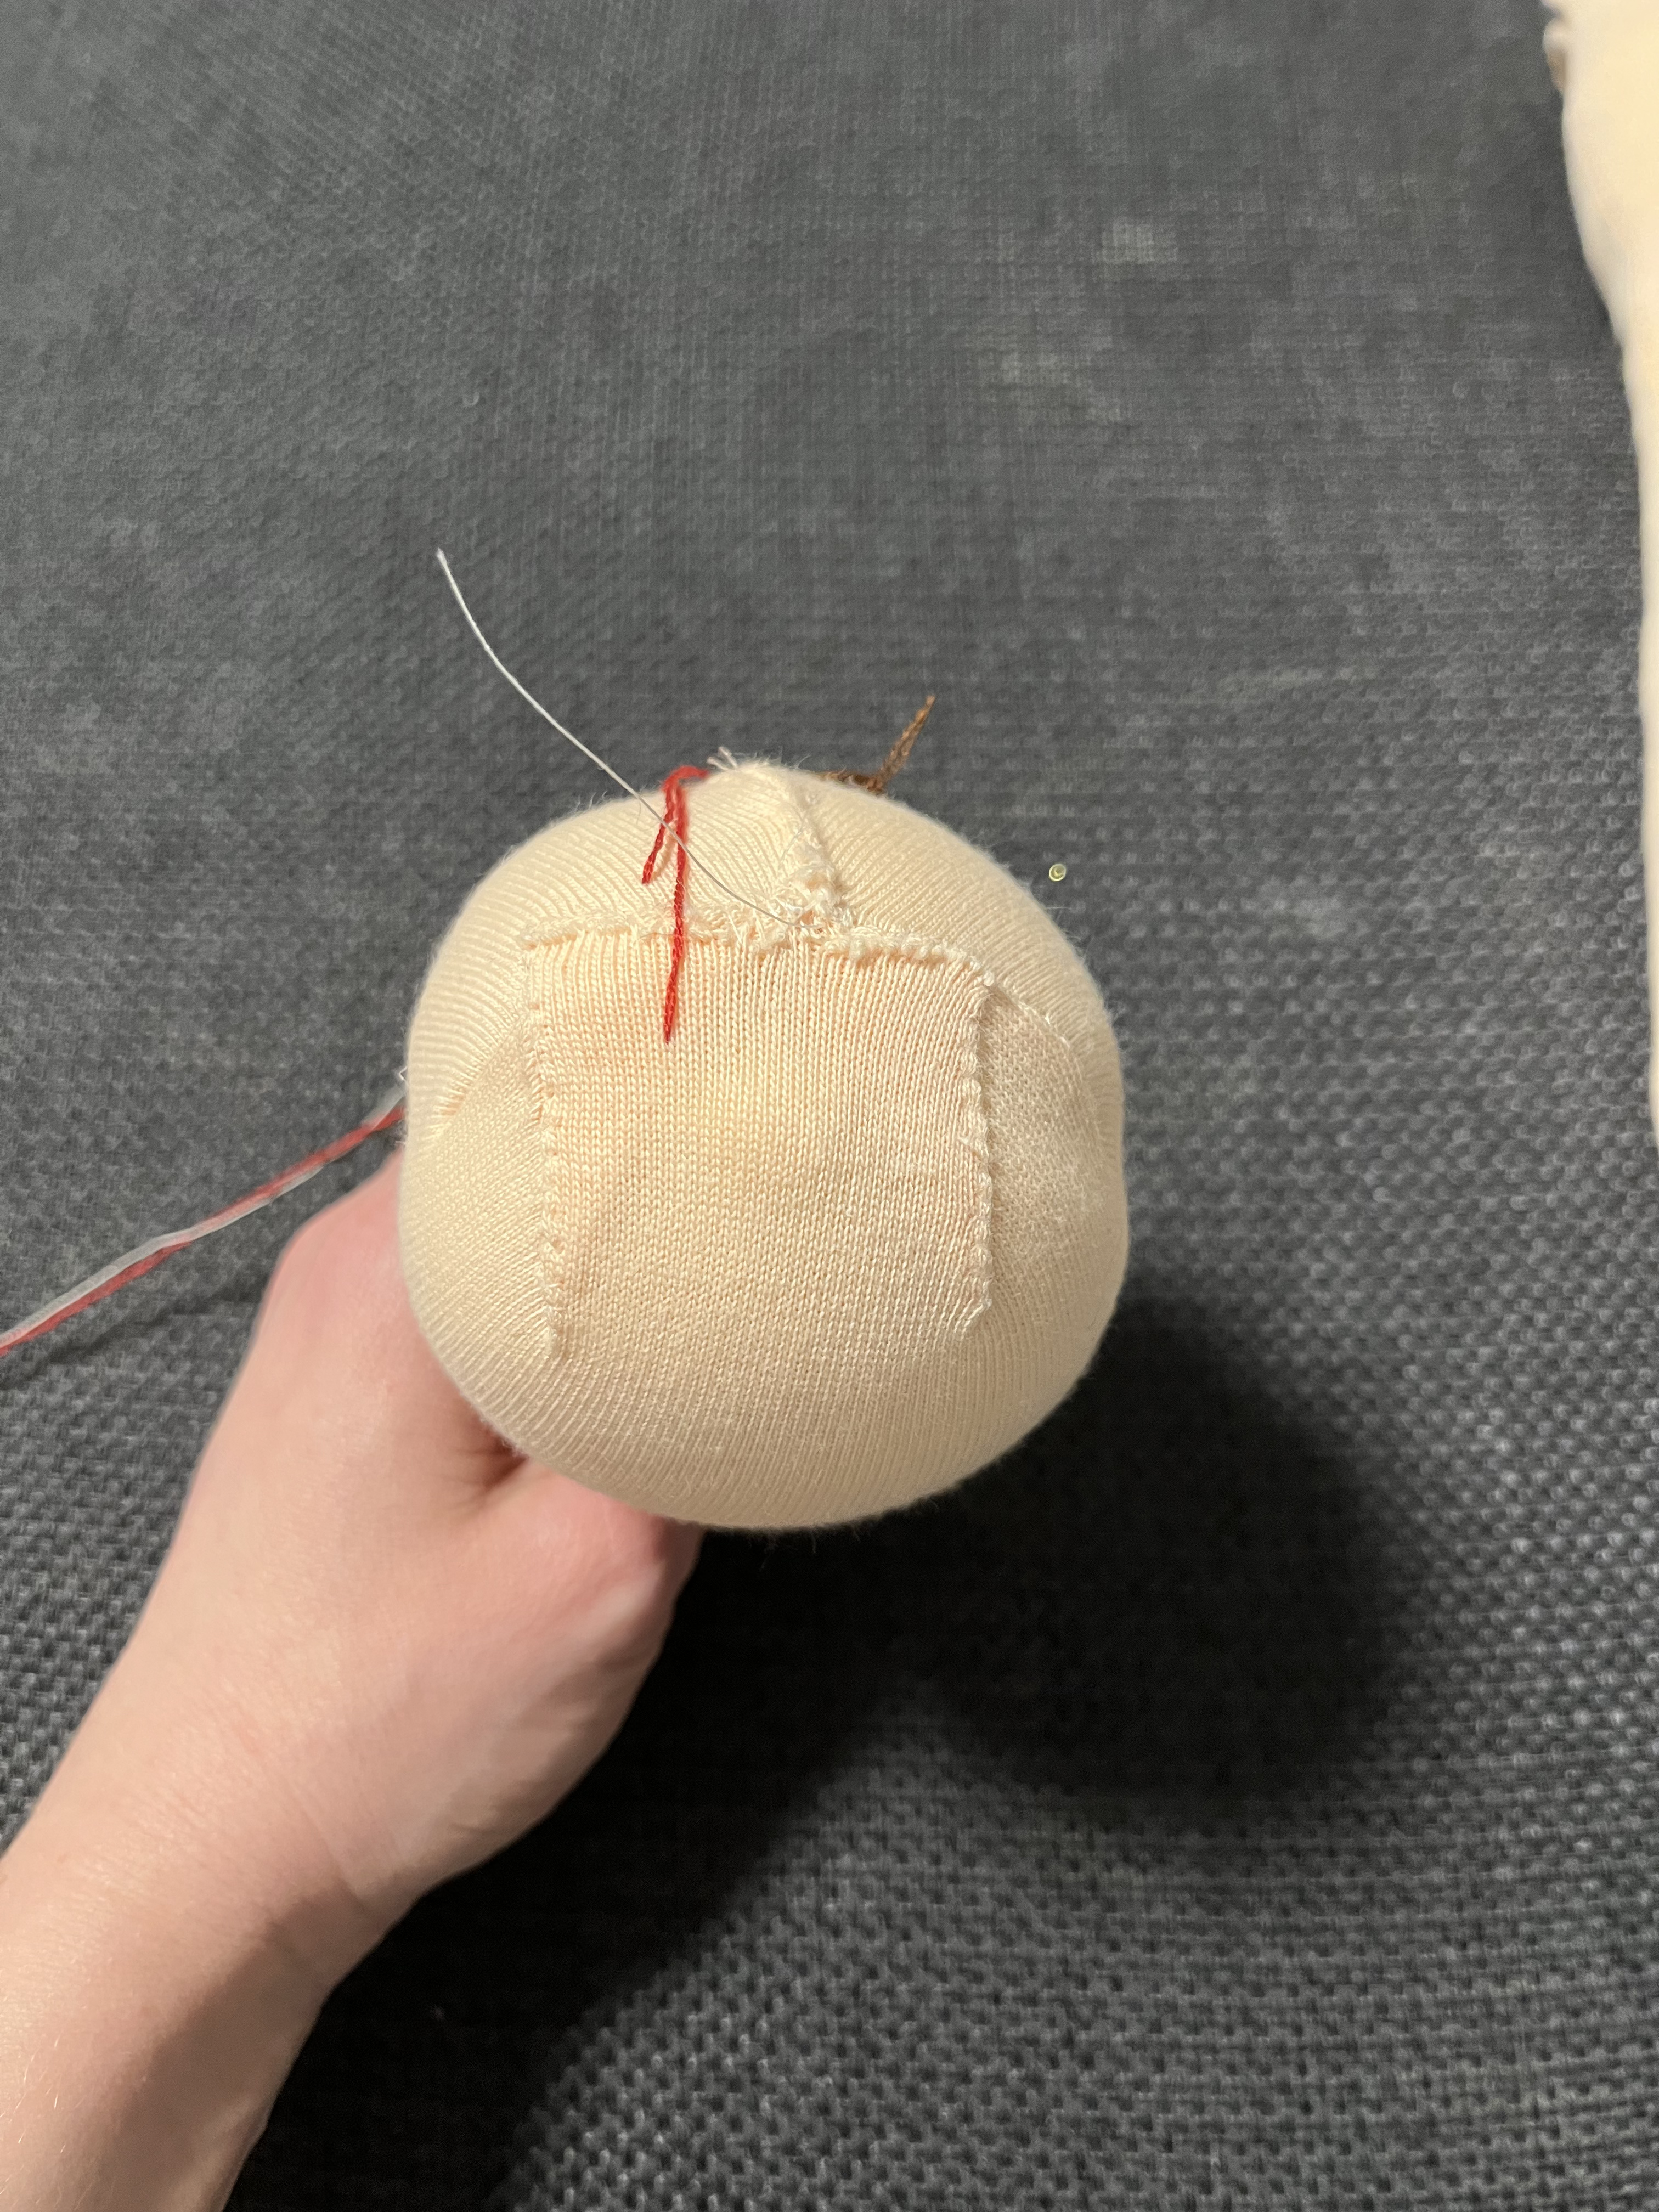
I was looking around on Etsy, and after some searching, I found a pattern and tutorial from Varva Dolls which seemed just like what I wanted. It was for a 33 cm doll with beautiful straight long hair. The pattern also seemed relatively simple, so I bought it. After I printed the necessary parts, I prepared the fabric, sewed, and did everything that was possible with a sewing machine. Interestingly, for the head, it used a different technique: I had to stretch the fabric over the shaped head and hand sew it behind. On the plus side, I was able to eliminate a lot of the wrinkling compared to my first doll, but it was still not seamless. Obviously, this problem has nothing to do with the tutorial and pattern. As I finally realized after a painful learning curve, the fabric I used was simply not for this purpose.
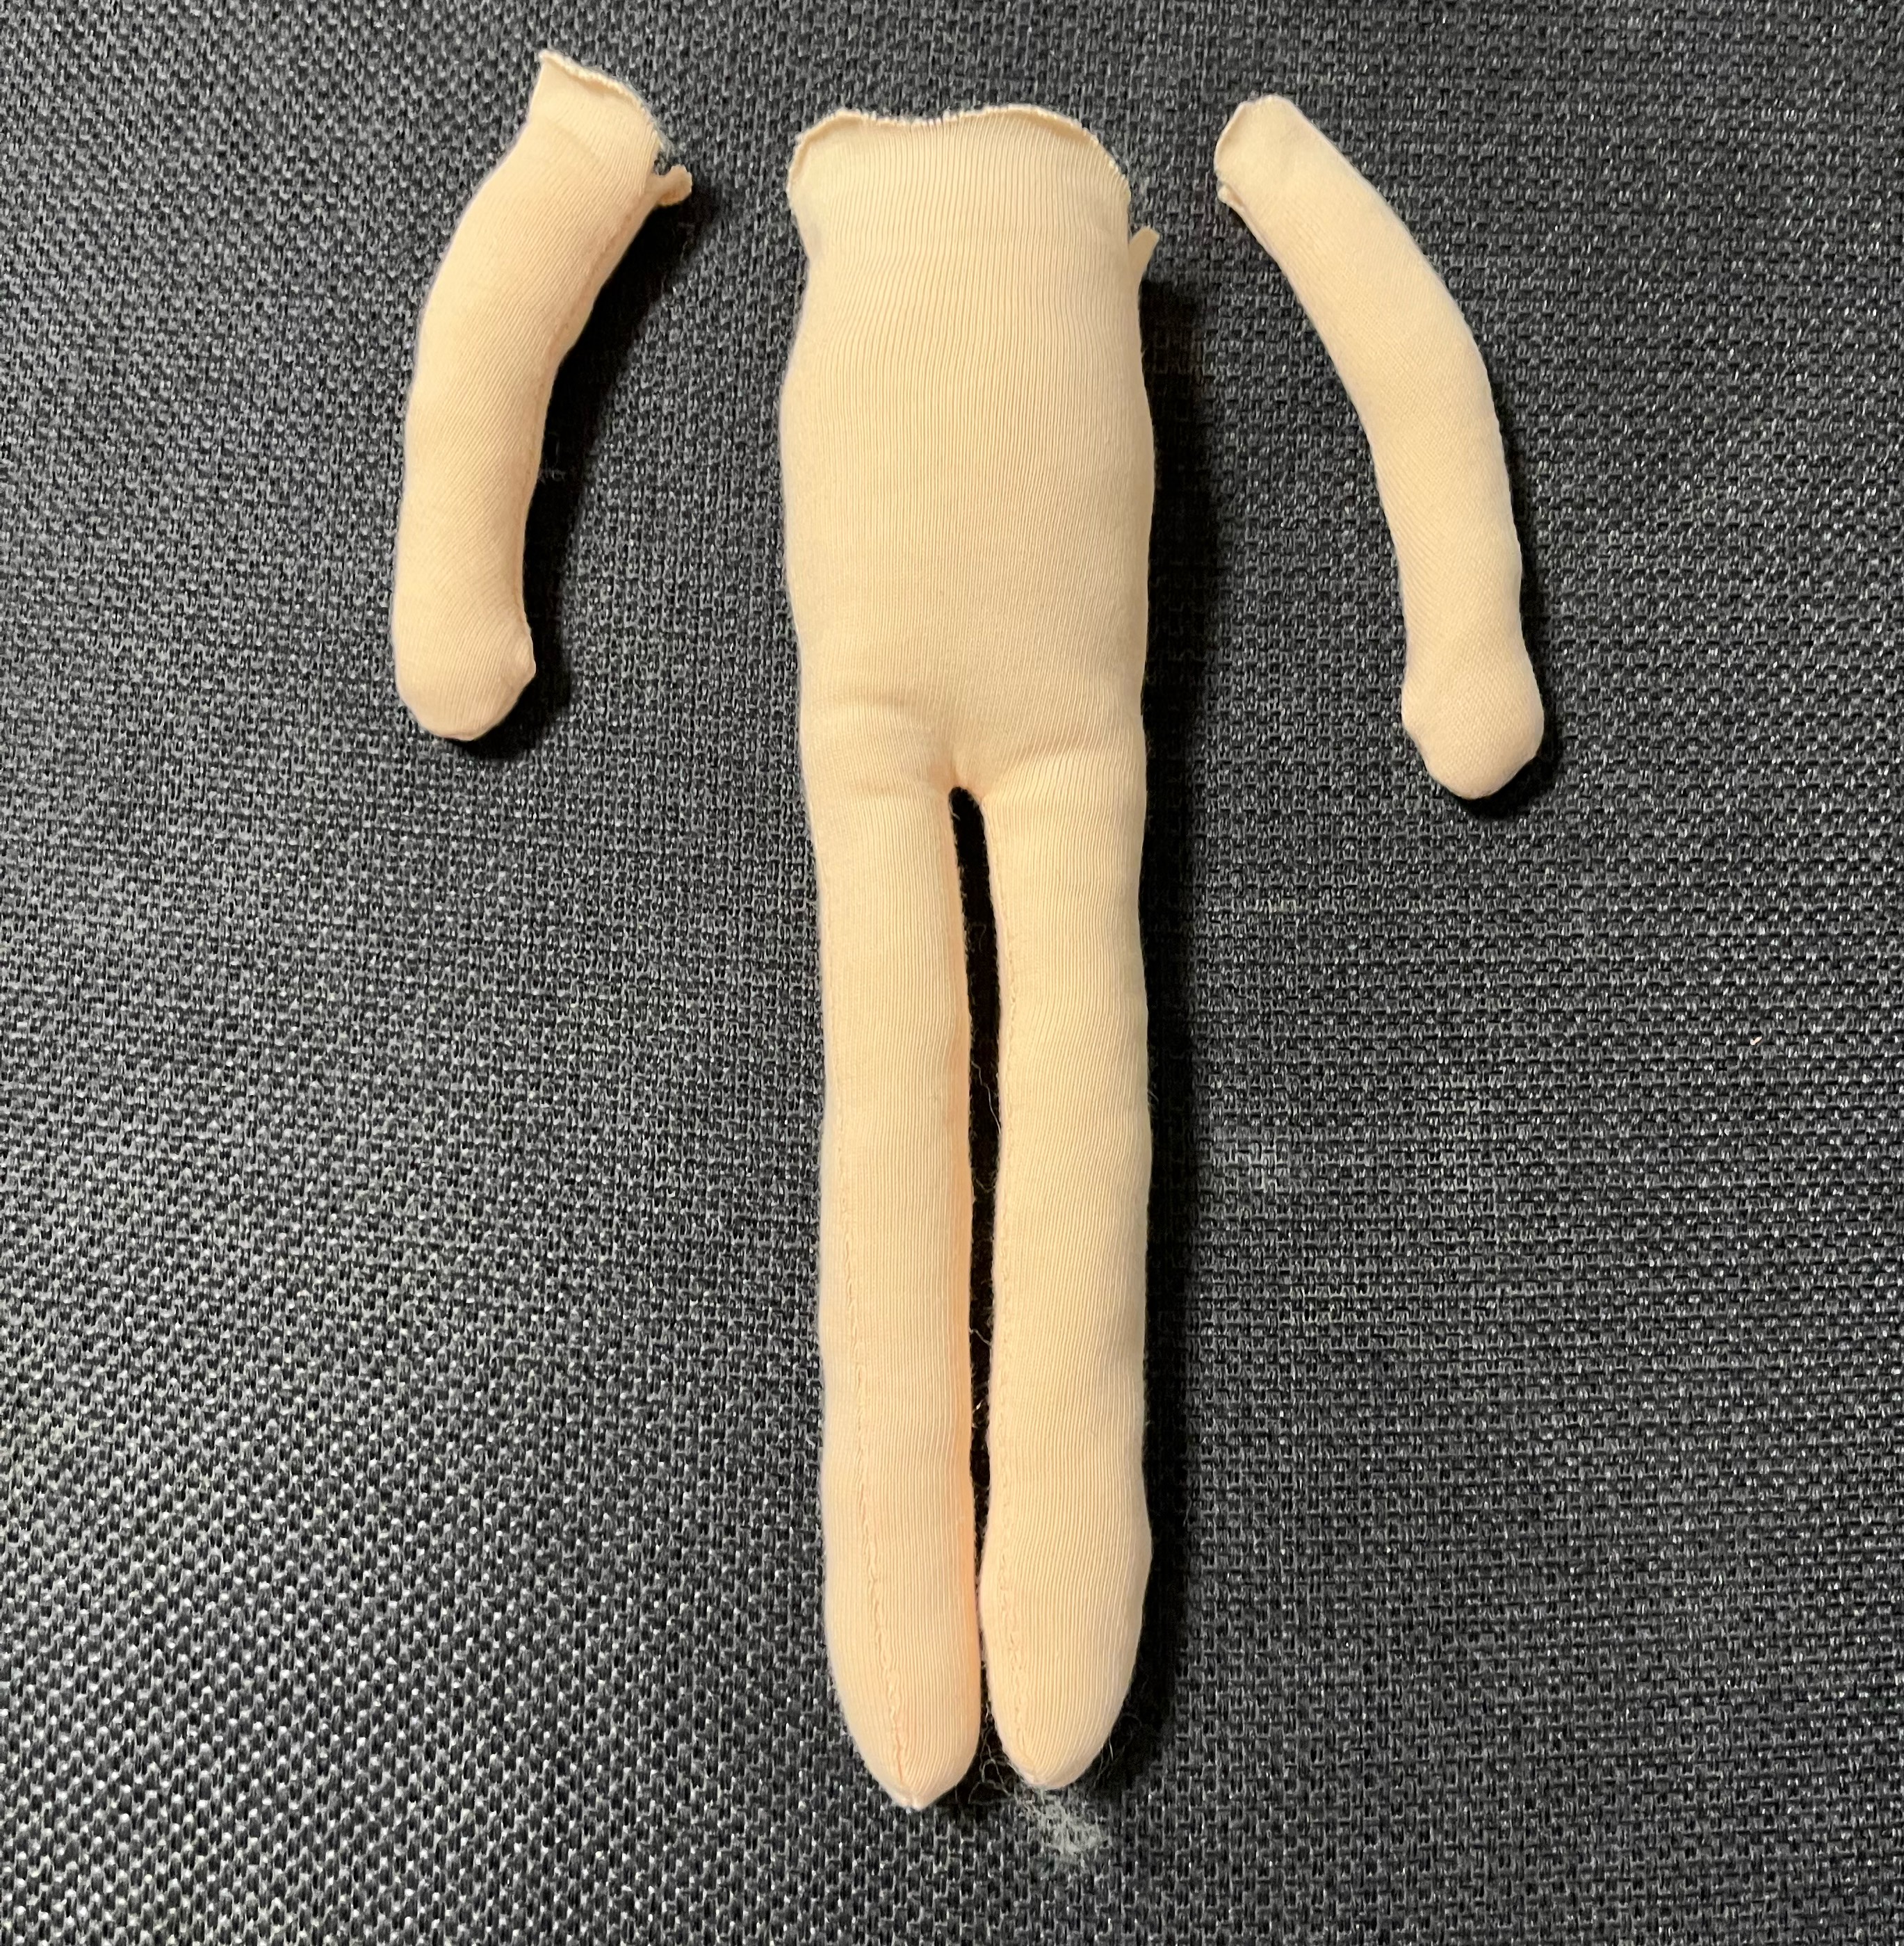
Another interesting part of the pattern was the foot shaping. According to the pattern, the body and legs were one piece, so the feet were formed after stuffing using ladder stitching. Unfortunately, the first time I did it quite poorly. The feet are far from symmetric and too big in general, so I'm not happy with the result. Other than this, I quite liked both the pattern and the result.
This time, I also took the time to watch videos and read some guides about embroidery so I could make the face look as I imagined :) I still need practice, but it's better than before. For the hair, I decided to try silk mohair. I will tell you all about it in my next post.